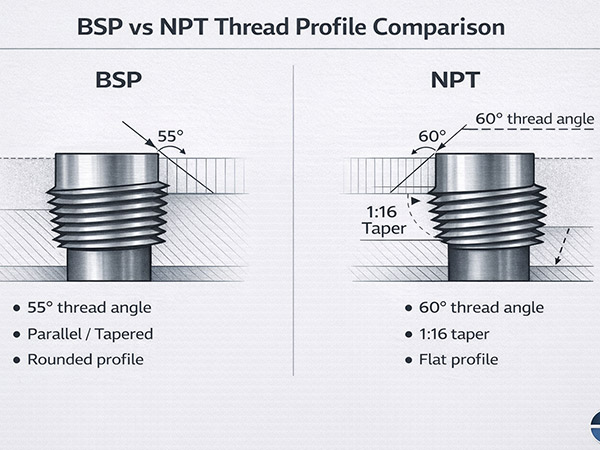
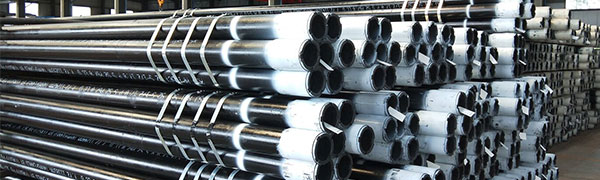
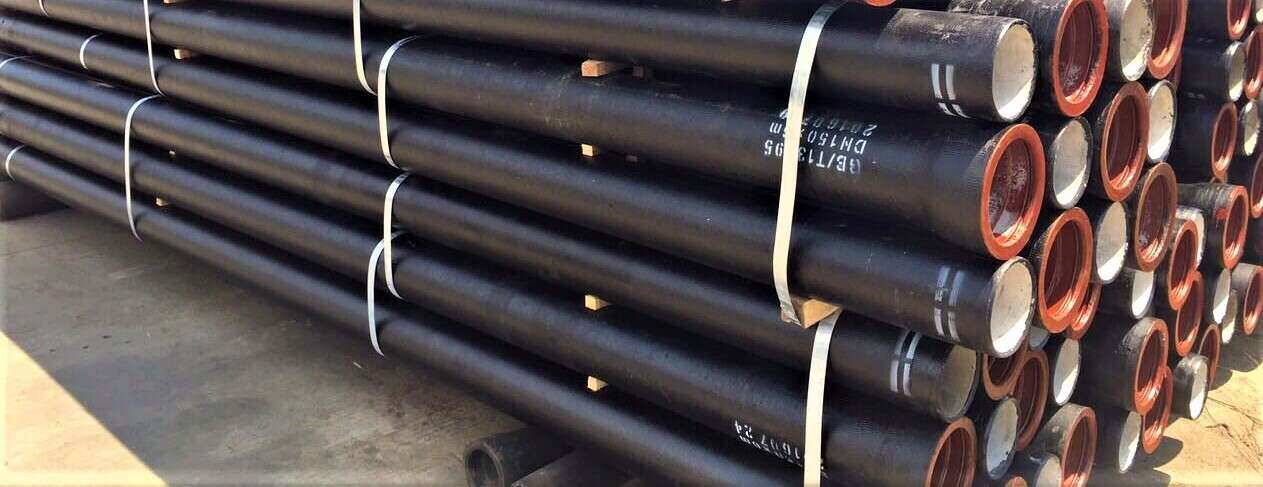
What are the installation techniques for welded pipes?
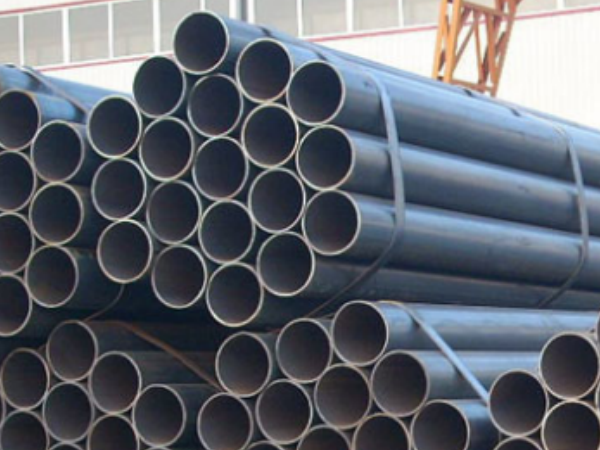
1. Preparation for welded pipe installation
(1) Check the drilling machine, grooving machine, and pipe cutting machine to ensure safe use.
(2) Preparation of materials and tools, including pipes, steel tapes, wrenches, vernier calipers, levels, lubricants, wooden hammers, scaffolding, etc.
(3) Install the supports and hangers of the pipeline to be installed according to the design requirements.

2. Rolling groove
(1) Use a pipe cutting machine to cut the steel pipe to the required length, and use a level to check the cutting section to ensure that the cutting section is perpendicular to the central axis of the steel pipe. If the cut has burrs, smooth it with a grinder.
(2) Stand the steel pipe to be grooved on the grooving machine and the tailstock of the grooving machine, and use a level to level it so that the steel pipe is in a horizontal position.
(3) Place the end of the processed steel pipe close to the grooving machine so that the central axis of the steel pipe is perpendicular to the surface of the roller.
(4) Press slowly. Jack, make the upper pressure wheel close to the steel pipe, start the slotting machine, and make the roller rotate once. At this time, pay attention to whether the steel pipe section is still close to the slotting machine. If not, adjust the pipe to level. If it is tight, slowly press down the jack so that the upper pressure wheel can evenly roll the steel pipe to the predetermined groove depth.
(5) Stop the machine, use a vernier caliper to check the depth and width of the groove, and after confirming that it meets the standard requirements, unload the jack and take out the steel pipe.
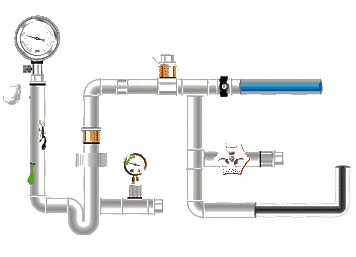
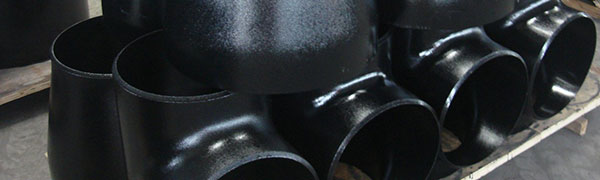
3. Open holes to install mechanical tees and crosses
(1) Mark an ink line on the steel pipe to determine the opening position of the joint branch pipe.
(2) Fix the chain drilling machine at the predetermined opening position of the steel pipe.
(3) Start the motor, turn the handwheel, and slowly bring the drill bit closer to the steel pipe. At the same time, add lubricant to the drill bit to protect the drill bit and complete the opening of the steel pipe.
(4) Stop the machine, shake the hand wheel, open the chain, remove the drilling machine, clean the metal sheet at the drilling place and the residue at the opening, and use a grinder to smooth the hole.
(5) Place the clamp on the steel pipe. Note that the mechanical tee should be concentric with the hole, the gap between the rubber sealing ring and the hole should be even, and the fastening bolts should be in place.
(6) If it is a mechanical four-way connection, attention must be paid to ensuring that the holes on both sides of the steel pipe are concentric when opening the hole. Otherwise, the rubber ring may break after installation is completed, affecting the water flow area.
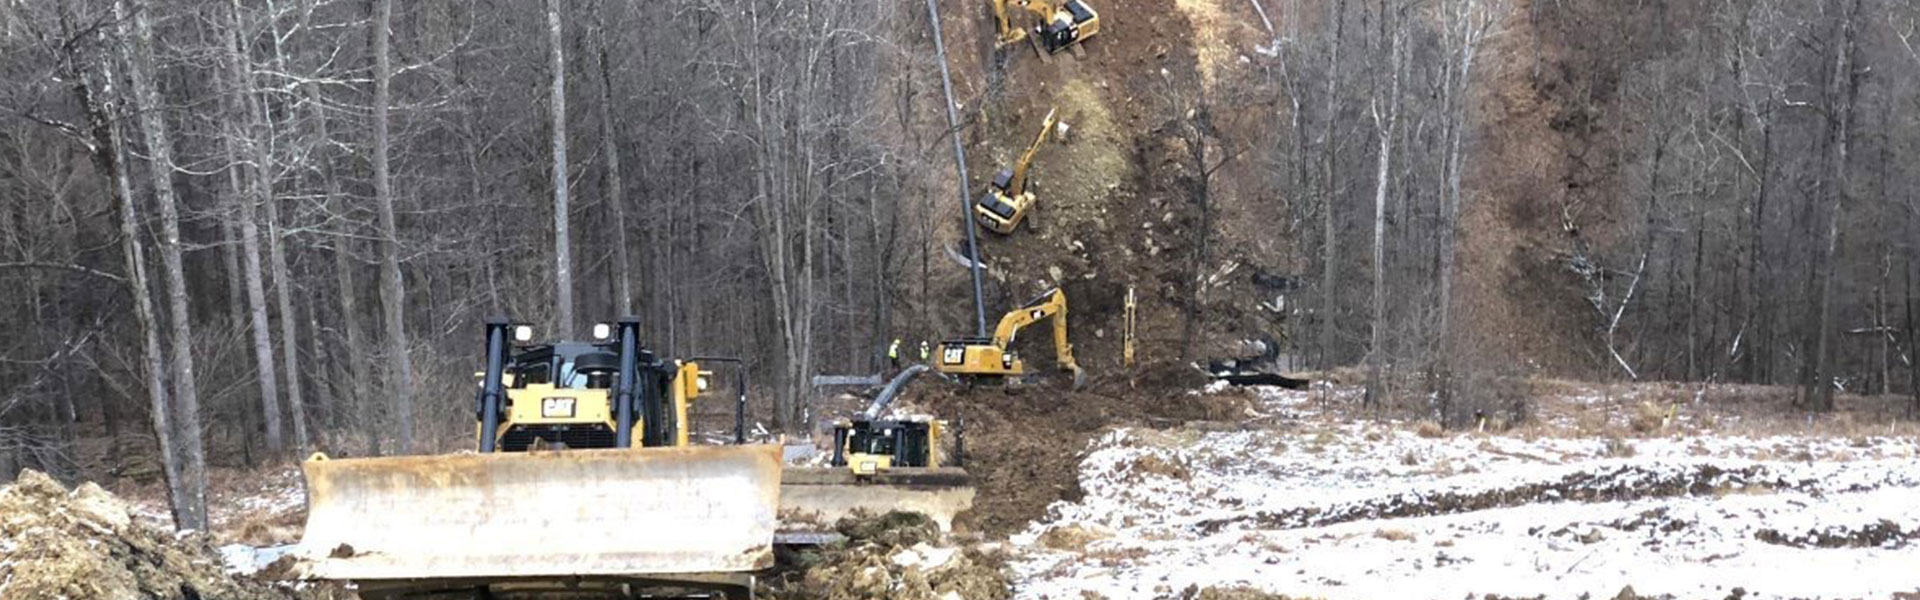
4. When installing pipelines, follow the principle of installing large-diameter, main pipes, and risers first, and then installing small-diameter and branch pipes. During the installation process, it must be installed continuously in order, and skipping or segmented installation is not allowed to avoid difficulties in connecting between segments and affecting the overall performance of the pipeline.
(1) Fix the steel pipe on the support and hanger, and put a non-destructive rubber sealing ring on the end of the steel pipe.
(2) Insert the other end of the lubricated steel pipe into the rubber sealing ring, and rotate the rubber sealing ring so that it is located in the middle of the interface.
(3) Install the upper and lower clamps on the outside of the rubber sealing ring, put the clamp flange into the groove, and press the ears of the upper and lower clamps tightly. At the location of the screw hole of the clamp, install the bolt and tighten the nut evenly by rotating it. While tightening the nut, hammer the clamp with a wooden hammer to make sure the rubber seal does not wrinkle.
(4) A support hanger is added to the 500mm inner pipe of the rigid clamp joint.
5. After the system pressure test pipeline is installed, the system pressure test should be carried out. Before the system pressure test, a comprehensive check should be made to see whether the mounting parts and fixing brackets are installed in place. Installed pipes may sag. If the droop arc is large, additional support can be added; if the arc is small, the arc will naturally disappear when the pressure inside the pipe increases.


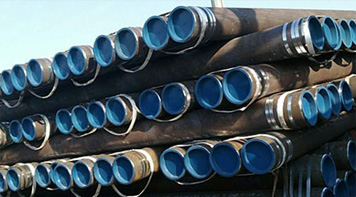 Eastern Steel Manufacturing Co.,Ltd not only improve product production and sales services, but also provide additional value-added services. As long as you need, we can complete your specific needs together.