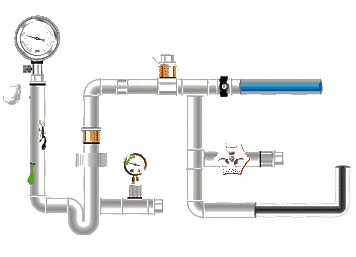
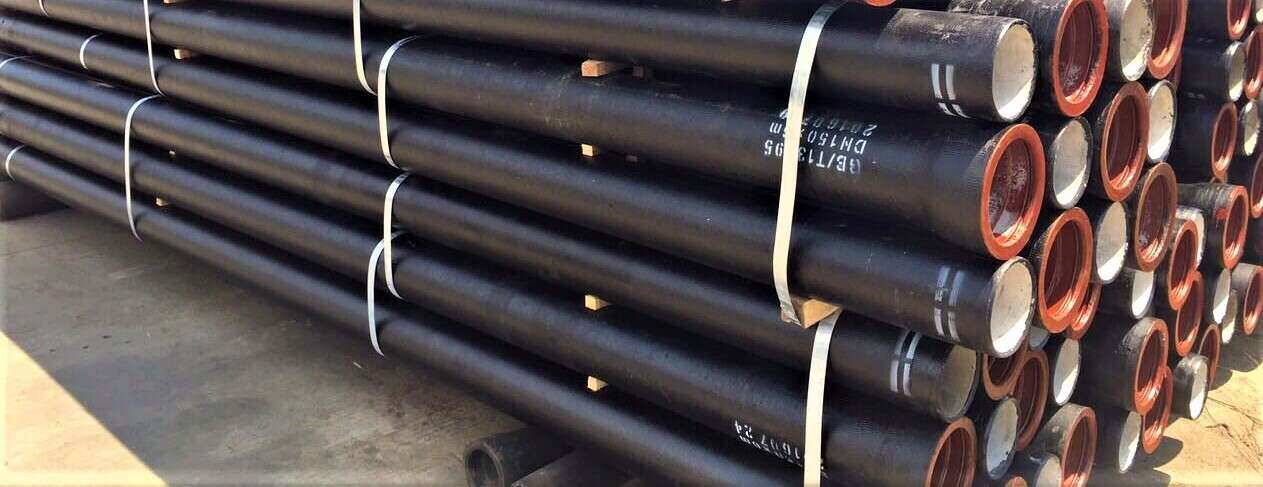
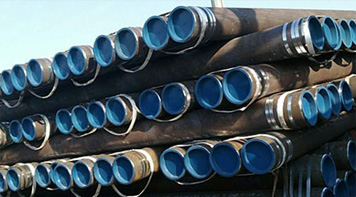
The threaded pup joint is
a connection accessory, usually used to connect two pipes or pipes and valves, and is
characterized by a threaded connection method and a short length. Short length
means that the threaded pup joint is shorter than conventional connection
accessories, which can save space and cost.
How to match the threaded pup joint
When installing the threaded pup joint, a
threaded joint is required to connect the pipe to ensure the stability and
sealing of the pipe. The threaded pup joint can be used with threaded joints of
various specifications, which can be internal thread joints or external thread
joints, which are convenient for connecting with the external and internal
threads of other pipes or valves.
Therefore, the threaded pup joint is an
economical, practical, convenient and fast connection accessory. When
purchasing the threaded pup joint, you need to pay attention to its thread
diameter and connection method to ensure smooth connection with the threaded
joint.
How to use the threaded pup joint
correctly
1. Determine the use environment and
material
Before using the threaded pup joint, you
need to select the appropriate threaded pup joint model and material according
to the use environment and the material of the required connected pipe.
Generally speaking, threaded pup joints can be used to connect pipes of
different materials, but attention should be paid to their corrosion
resistance.
2. Check the appearance and internal
threads of the threaded pup joints
Before use, check whether the appearance of
the threaded pup joints is intact and whether the internal threads are intact.
If damage or deformation is found, it should be replaced in time.
3. Make pipe connections
Align the threaded pup joints with the pipe
to be connected, rotate the threaded pup joints counterclockwise, insert them
into the pipe, and ensure that the threaded pup joints are completely fixed. At
the same time, be careful not to over-tighten to avoid damaging the threads.
4. Perform a pressure test
After the connection is completed, a
pressure test is required. The test pressure should be determined according to
the actual use environment and pipe specifications. After the test, check
whether the threaded pup joints have leakage.
Precautions for threaded pup joints
1. During the installation process, pay
attention to the position and direction of the pipe to ensure smooth connection
of the threaded pup joints.
2 In the process of tightening the threaded
pup joints and threaded joints, tools need to be used to tighten them gradually
instead of tightening them all at once.
3. After installation, the connection needs
to be inspected to ensure the sealing of the connection.
How to choose a threaded pup joint
1. Choose the appropriate material
according to the application and medium.
2. Choose a threaded pup joint that meets
the standards according to the pressure of the pipeline and system.
3. Consider the connection method. You can
choose internal thread, external thread or pipe insertion threaded pup joint
according to your needs.
4. Pay attention to the outer diameter and
length of the threaded pup joint to ensure that it meets the requirements after
connection.
Summary
The above are the basic methods and
precautions for using threaded pup joints. If used and maintained correctly,
threaded pup joints can bring you a convenient and safe use experience.
Read more: How To Choose A Threaded Pup Joint? or Application of Threaded Pup Joints in Pipe Connection


 Eastern Steel Manufacturing Co.,Ltd not only improve product production and sales services, but also provide additional value-added services. As long as you need, we can complete your specific needs together.