The technical requirements and inspection of
welded pipes are based on the provisions of the GB3092 "Welded Steel Pipes for Low-Pressure Fluid Transmission". It can be delivered according to fixed length or double length. The surface of the steel pipe should be smooth, and defects such as folds, cracks, delamination, and lap welding are not allowed. The surface of the steel pipe is allowed to have minor defects such as scratches, scratches, weld misalignment, burns and scars that do not exceed the negative deviation of the wall thickness. The thickening of the wall thickness and the presence of inner seam weld bars are allowed at the weld.
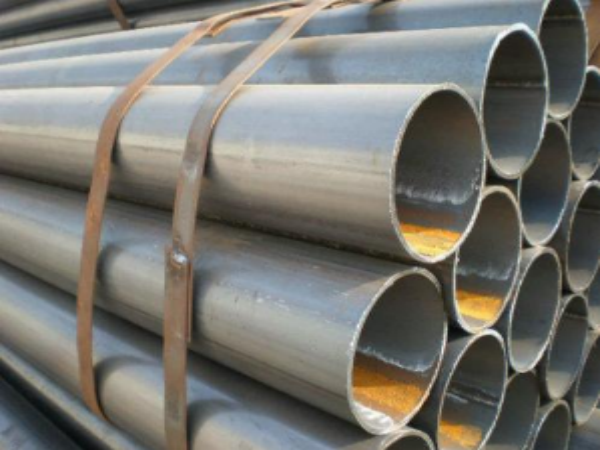
Welded steel pipes should be subjected to mechanical performance test, flattening test and flaring test, and must meet the requirements of the standard. When the steel pipe should be able to withstand the internal pressure, carry out a pressure test of 2.5Mpa, and keep it for one minute without leakage. The method of eddy current flaw detection is allowed to replace the hydrostatic test. The eddy current flaw detection is carried out according to the standard of GB7735 "Steel tube eddy current flaw detection inspection method". The eddy current flaw detection method is to fix the probe on the frame, keep a distance of 3~5mm between the flaw detection and the weld seam, and conduct a comprehensive scan of the weld seam by the rapid movement of the steel pipe. The flaw detection signal is automatically processed and sorted by the eddy current flaw detector. To achieve the purpose of flaw detection. The welded pipe after the flaw detection is cut off according to the specified length with a flying saw, and it is rolled off the assembly line through the turning frame. Both ends of the steel pipe should be chamfered with flat ends, printed with marks, and the finished pipes are packed in hexagonal bundles before leaving the factory.

Straight seam steel pipe processing method:
Straight seam steel pipe is a steel pipe whose weld seam is parallel to the longitudinal direction of the steel pipe. Generally, its strength is higher than that of straight seam welded pipe. Narrower billets can be used to produce welded pipes with larger diameters, and the same width of billets can be used to produce welded pipes with different pipe diameters. But compared with the straight seam pipe of the same length, the weld length is increased by 30~100%, and the production speed is lower. So what are its processing methods?
1. Forging steel: a pressure processing method that uses the reciprocating impact force of the forging hammer or the pressure of the press to change the blank into the shape and size we need.
2. Extrusion: It is a processing method in which steel puts metal in a closed extrusion box and applies pressure at one end to make the metal extrude from the specified die hole to obtain a finished product with the same shape and size. It is mostly used for the production of non-ferrous metals material steel.
3. Rolling: A pressure processing method in which the steel metal billet passes through the gap between a pair of rotating rolls (various shapes), and the cross-section of the material is reduced due to the compression of the rolls, and the length is increased.
4. Pulling steel: it is a processing method in which the rolled metal blank (type, pipe, product, etc.) is pulled through the die hole to reduce the cross section and increase the length. Most of them are used for cold processing.
Quenching Technology for Straight Seam Welded Pipe
The surface quenching and tempering heat treatment of straight seam welded pipe is usually carried out by induction heating or flame heating. The main technical parameters are surface hardness, local hardness and effective hardened layer depth. Vickers hardness tester can be used for hardness testing, and Rockwell or superficial Rockwell hardness tester can also be used. When the surface heat treatment hardened layer is thick, the Rockwell hardness tester can also be used. When the thickness of the heat-treated hardened layer is 0.4-0.8mm, the HRA scale can be used, and when the thickness of the hardened layer exceeds 0.8mm, the HRC scale can be used.
If the parts require high local hardness, local quenching heat treatment can be carried out by means of induction heating. Such longitudinal welded pipes usually need to mark the location of local quenching heat treatment and local hardness value on the drawing. Hardness testing of longitudinally welded pipes shall be carried out in the area. The hardness testing instrument can use a Rockwell hardness tester to test the HRC hardness value. If the heat-treated hardened layer is shallow, a surface Rockwell hardness tester can be used to test the HRN hardness value.
The three hardness values of Vickers, Rockwell and Superficial Rockwell can be easily converted to each other and converted into hardness values required by standards, drawings or users. The corresponding conversion tables are given in the international standard ISO, the American standard ASTM and the Chinese standard GB/T.




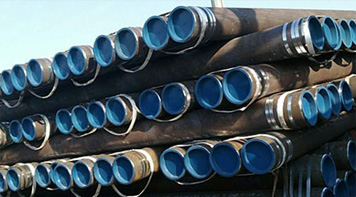 Eastern Steel Manufacturing Co.,Ltd not only improve product production and sales services, but also provide additional value-added services. As long as you need, we can complete your specific needs together.
