Nondestructive testing of
seamless carbon steel pipes:
Non-destructive testing is a method of non-destructive inspection of materials, workpieces or components. Its main purpose is to find discontinuous macroscopic defects (such as cracks, pores, inclusions, etc.) in materials, workpieces or components. The commonly used non-destructive testing methods for Eastern Steel include: radiation, ultrasonic, magnetic flux leakage, eddy current, penetration, magnetic particle, etc.
The main features of non-destructive testing: do not damage the inspected object; 100% inspection can be achieved; defects can be found and corresponding evaluations can be made to ensure the quality of materials, workpieces or components; key components can be inspected regularly and even in use Long-term monitoring to ensure safe operation and avoid accidents; discover defects, point out their causes and rules, and prompt relevant departments to take measures to improve designs or processes to further improve quality, prevent and reduce waste, and reduce production costs.
(1) Ultrasonic flaw detection
Piezoelectric ultrasound is mainly used to inspect longitudinal defects and used for diameter and thickness measurement; electromagnetic ultrasonic can inspect longitudinal and transverse defects. The main levels are C3 (L1), C5 (L2), C8 (L25), C10 (L3), C12 (L4). Among them, C5 is used for cold processing high pressure boiler tubes; C8 is used for hot processing high pressure boiler tubes; C10 and C12 are used for seamless steel pipes for other purposes.

(2) Eddy current flaw detection
Mainly used for surface and near surface flaw detection. Penetrating eddy current testing mainly detects lateral defects and delamination. Eddy current can also be used for thickness measurement, hardness, strength, diameter measurement, and distance measurement. The acceptance levels are A and B. The acceptance level A can be used as an alternative method of water compactness inspection. The acceptance level B is negotiated by the supplier and the buyer and indicated in the contract. The sample tube has drilled holes (through holes) and longitudinal grooves.
(3) Magnetic flux leakage detection
It is mainly used for surface and near-surface defects (such as cracks, folds, interlayers, clamps, cold partitions, etc.). The acceptance level is divided into L2, L3, L4 (the groove depth of the outer surface is 5%, 10%, 12.5% of the nominal wall thickness of the steel pipe), and L2.5 is 8%.
(4) Magnetic particle inspection
Mainly used for surface, near-surface cracks and other defects detection. There are three types of A-type standard test pieces, B-type standard test pieces, and C-type standard test pieces. Magnetic particle inspection only detects longitudinal and transverse flaws within 400mm of the tube end.
Read more : seamless vs welded pipe




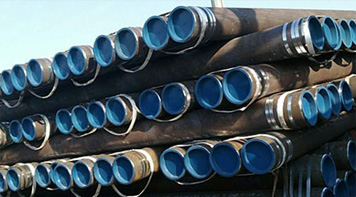 Eastern Steel Manufacturing Co.,Ltd not only improve product production and sales services, but also provide additional value-added services. As long as you need, we can complete your specific needs together.
