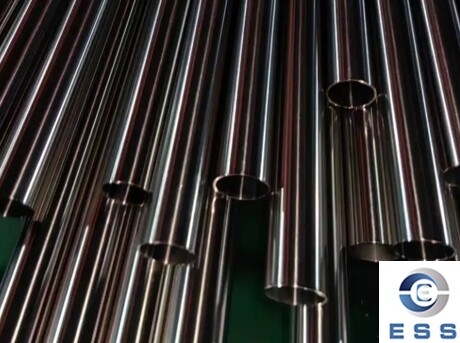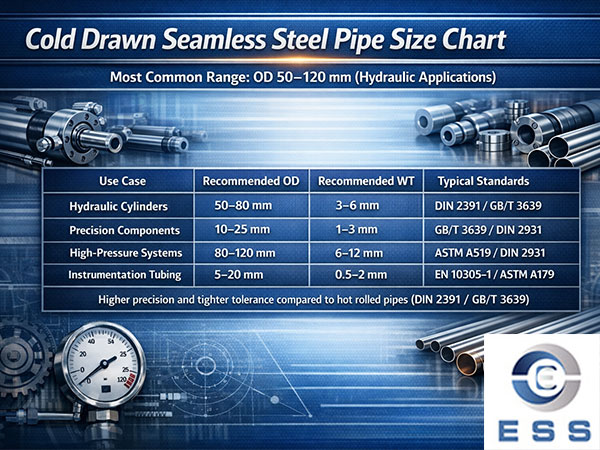
Precision
tube is a precision pipe made by a more stringent production process on the
basis of seamless pipe. It has high inner and outer wall finish, high
dimensional accuracy and strong durability. It has important applications in
precision instrument processing, automotive parts, aerospace and other fields.
Different types of steel pipes have different hardness characteristics, and
there may be differences even in the same type of steel pipes. In seamless
pipes and precision tubes, there are certain differences in hardness due to
their different production processes.
Hardness refers to the ability of a material to resist plastic deformation, scratches and damage. Hardness is usually measured by a hardness tester. Hardness tests usually include indentation hardness tests, tensile hardness tests of metal materials, Rockwell hardness tests of rocks, etc. The hardness of precision tubes refers to the ability of precision tubes to resist deformation and quickly return to their original shape under certain test conditions. Generally speaking, the greater the hardness, the higher the strength of the material, and the smaller the deformation capacity.
Hardness index requirements
The hardness of precision tubes is generally divided into two types: surface hardness and internal hardness. Surface hardness refers to the hardness of the material surface after heat treatment, which can be tested by Rockwell hardness test method, while internal hardness refers to the hardness of the steel pipe section or material, which is generally tested by Vickers hardness test method.
For different standards and different varieties of precision tubes, there are certain differences in their hardness index. For example, the Japanese JIS standard generally sets the hardness index of ordinary precision tubes with a thickness of d of 0.5mm or more to HRC61~65; while the German DIN standard sets the hardness index of similar precision steel pipes to between HRC55~58.
Factors affecting hardness
The factors that affect the hardness of precision steel tubes mainly include material composition, carbon content, quenching medium, etc. At the same time, the production and processing technology of steel tubes will also affect their hardness. In addition, factors such as mechanical force and chemical corrosion during use may also cause changes in the hardness of precision steel tubes.
When producing and processing precision steel tubes, the hardness index should be controlled according to actual needs to ensure the stability and reliability of the hardness of the steel tubes.
Hardness test method
1. Brinell hardness (HB): Use a steel ball
or carbide ball of a certain diameter to press into the steel surface with a
specified test force, and measure the indentation diameter to calculate the
hardness value. Brinell hardness is suitable for measuring softer metal
materials, such as annealed, normalized or quenched and tempered steel.
2. Rockwell hardness (HRC): Use a
120-degree conical diamond indenter or a hardened steel ball to press into the
steel surface under a certain load, and calculate the hardness value by the
indentation depth. Rockwell hardness is suitable for measuring medium-hard
metal materials, such as quenched and tempered steel or quenched and tempered
workpieces.
3. Vickers hardness (HV): Use a diamond
regular tetrahedron with a cone angle of 136 degrees as an indenter, which is
suitable for measuring the hardness of thin surface layers or thin sheets of
metal.
Conclusion
In general, when producing and processing precision steel tubes, the hardness index should be controlled according to actual needs to ensure the stability and reliability of the hardness of the steel tubes.




 Eastern Steel Manufacturing Co.,Ltd not only improve product production and sales services, but also provide additional value-added services. As long as you need, we can complete your specific needs together.
