The quality assessment process of
ERW steel pipes includes online non-destructive testing, metallographic inspection, flattening and flaring destructive tests, and hydrostatic testing.
Evaluation process:
1. On-line non-destructive testing
The detection arm of the rotary flaw detection station is placed on the longitudinal welded pipe production line, the position of the weld seam is observed through the camera, and the front and rear positions of the probe are adjusted with the operating lever so that the weld seam and the laser overlap, and the parameters are saved. Input steel strip coil number through DATASERVR and DACQ computer. Observe the waveform display on the flaw detection interface. When the waveform exceeds the alarm line, compare the thickness measurement information to judge whether it is a defect wave or an interference wave signal, and visually check whether the pipeline waveform exceeds the alarm line. If the waveform exceeds the alarm line, an alarm will be issued. Stop in time and readjust the welding parameters.

2. Metallographic inspection
(1) Weld metallographic microstructure. It is generally required to judge whether the coarse structure in the heat-affected zone of the weld is completely eliminated after heat treatment, whether it is basically consistent with the structure of the base metal, and whether there is a fusion line of inclusions in the weld. Generally speaking, the weld has no inclusions, no microcracks, and a clear organizational structure, indicating a weld mesh.
(2) Metal streamlined. In high-frequency welding, the proximity effect and skin effect cause the strip edges to be in a molten and semi-molten state. Under the pressure of the squeeze roller, the weld metal flows in and out, and the base metal on both sides of the weld rises to form a clamp. This angle is called the streamline angle α, and the welding seam is generally determined to be 40°~70° as qualified; if it exceeds this range, the welding process parameters need to be adjusted in time.
3. Destructive test
(1) Flattening test. Cut about 100mm of welded pipe and place it under the hydraulic press. The position of the weld seam is perpendicular to the pressurizing direction of the hydraulic press. Start the hydraulic pressure and slowly press down on the welded pipe until it is 3/4 of the diameter. Check the welds for cracks. If there are no cracks, weld the grid; if there are cracks, adjust the welding process parameters in time.
(2) Flaring test. Cut a welded pipe of about 100mm and place it on the conical top core; put the conical top core under the oil press, start the oil pressure, and slowly press down the welded pipe. When the flaring reaches 8%, check whether the weld is cracked. If there are no cracks, weld the grid; if there are cracks, adjust the welding process parameters in time.
4. Hydrostatic test
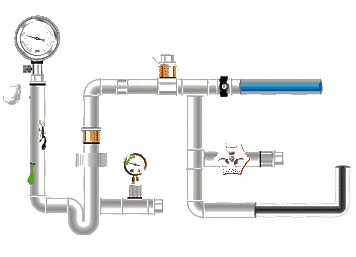
During the hydrostatic test, first use the pipe flange to clamp the welded flange to seal the two ends of the welded pipe, then inject water into the pipe, and gradually increase the pressure to the pressure required by the relevant standards. After a certain period of time, visually check the welding condition of the pipe body. Are there any leaks at the seams. If there is no leakage, weld the grid; if there is leakage, adjust the welding process parameters in time. During the hydrostatic test, there is no leakage at the weld seam, and the weld seam is welded together. This is also the last process of welded pipe quality inspection.
Read more: ERW Pipe Specifications and Models or Seamless pipe vs erw pipe



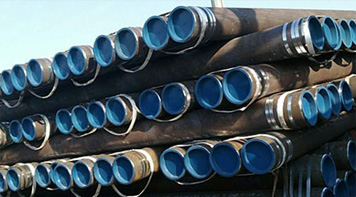 Eastern Steel Manufacturing Co.,Ltd not only improve product production and sales services, but also provide additional value-added services. As long as you need, we can complete your specific needs together.
