Inspection of seamless steel pipes for structural use
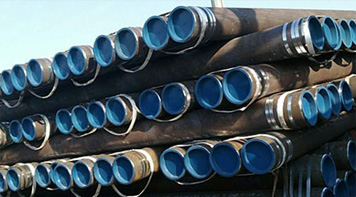
Steel pipes exist in many situations, among which we see more steel pipes used in various steel frame structures, railings, pipelines for transporting fluids, etc. We call them structural seamless steel pipes. Structural seamless steel pipes are seamless steel pipes used in general structures and mechanical structures. They are often used in the manufacture of pipes, containers, equipment, pipe fittings and mechanical structures. They have great functions and are widely used. In recent years, structural seamless steel pipes have been used in various industries. There are more and more companies producing seamless steel pipes, and the quality of the products is also uneven. In order to ensure their quality and safety in use, testing must not be ignored.

The inspection items for structural seamless steel pipes include the following aspects:
1. Tensile test
Prepare the test piece before the test. The shape and size of the test piece depend on the shape and size of the metal product being tested; calculate the original cross-sectional area based on the measured size, and mark the original gauge length with small points or lines. Calibrate test equipment to ensure its accuracy.
Clamp the prepared specimen on the chuck. Note that in order to obtain a straight specimen and ensure that the specimen is aligned with the chuck, a corresponding prestress that does not exceed 5% of the specified strength and expected yield strength can be applied. At the beginning of the test, the specimen was stretched until it broke. Note that various properties will be measured during the stretching process and the measurement results will be recorded in a timely manner. After the test, based on the measurement results of each performance, the prescribed formulas are used to calculate and revise, and finally a conclusion is drawn.
2. Impact test
When preparing the specimen, attention should be paid to avoiding work hardening or overheating that may affect the impact properties of the metal. The test equipment adopts an impact testing machine that meets the regulations. Other impact energy testing machines can also be used as needed. Before the test, check the zero-return difference of the passive pointer when the pendulum is idle. The zero-return difference should not exceed one-quarter of the minimum graduation value. Since the impact value of most materials will change with temperature, the test must be conducted at the specified temperature. When it is not conducted at room temperature, the specimen should be heated or cooled under specified conditions before the test to maintain the specified temperature. . After the test starts, place the sample with the specified geometric notch between the two stands of the testing machine, with the notch facing away from the striking surface, and hit the sample with a pendulum to measure the absorption capacity of the sample. After the test, if the specimen is not completely broken, the impact absorbed energy can be reported, or averaged with the results of the completely broken specimen.
3. Flattening test
The test is carried out at specified room temperature. The prepared specimen is placed between two clamping plates of the testing machine, and then the pressing plate is moved in a direction perpendicular to the longitudinal axis of the pipe for flattening. When a dispute arises during the test, the moving speed of the pressure plate should not exceed 25mm/mim. The evaluation of test results should comply with relevant standards.
4. Hardness test
The test is carried out at specified room temperature. The surface of the test piece should be flat and smooth, and there should be no scale and external pollutants, especially no grease. When preparing the specimen, the influence of factors such as overheating or cooling processing on the surface of the specimen should be minimized. Place the prepared specimen firmly on the rigid test platform to ensure that it will not slip during the test. After the test starts, make the indenter contact the surface of the specimen, and apply a test force perpendicular to the test surface until the specified test force value is reached to ensure that there is no impact, vibration, or overload during the loading process. During the entire test, the hardness tester should not be subject to shock and vibration that would affect the test results. The measurement data obtained during the test are calculated according to the formula specified in the standard, and the test results are rounded.


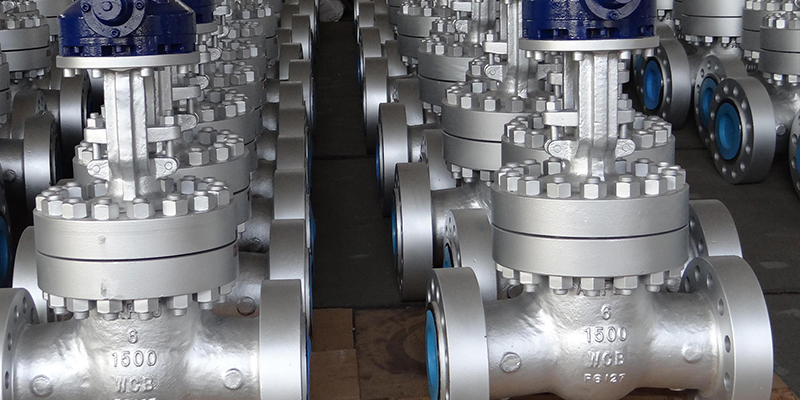
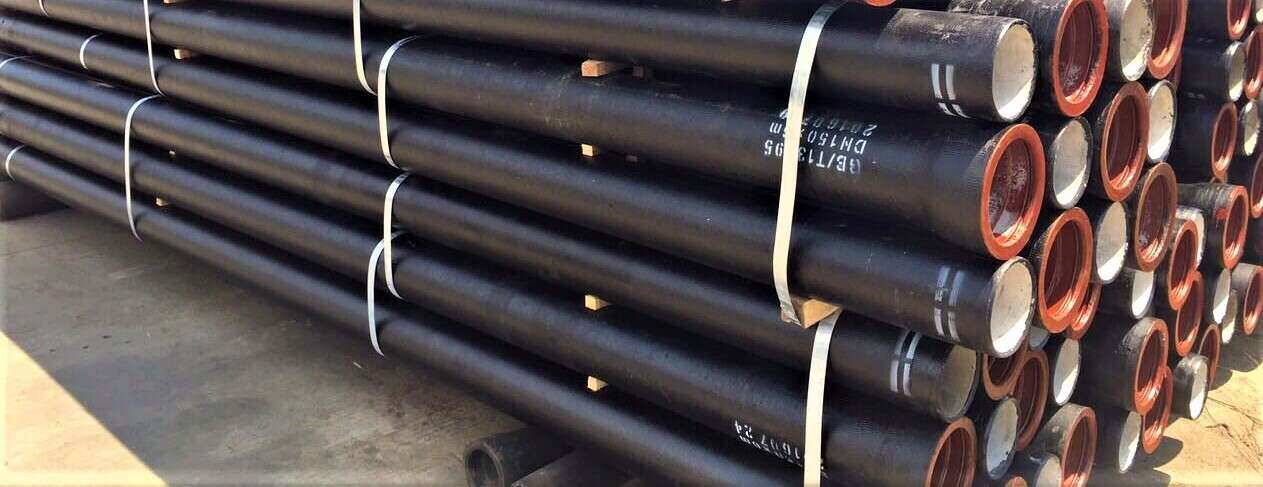


 Eastern Steel Manufacturing Co.,Ltd not only improve product production and sales services, but also provide additional value-added services. As long as you need, we can complete your specific needs together.
