Flange sealing surface finish requirements
Flange finish sealing surface and sealing gasket surface Ra (μm) roughness requirements. The surface roughness of the flange is determined by the user agreement and sealing gasket. Ra refers to the average roughness value of the workpiece surface, which is used to express the smoothness and roughness of the surface. In machining, Ra is usually used as a quantitative index of surface finish to measure the quality of the workpiece surface. Generally speaking, the lower the Ra value, the smoother the surface. .

The relevant provisions on the roughness (smoothness) of the flange sealing surface in the national flange standard and the chemical industry flange standard: raised surface, concave surface/convex surface, and full plane sealing surface are a kind of zigzag concentricity naturally formed when machining tools are used. For circular or spiral tooth grooves, the fillet radius of the processing tool should be no less than 1.5mm. The depth of the zigzag-shaped concentric circles or spiral tooth grooves formed is about 0.05mm, and the pitch is about 0.45~0.55mm. The surface finish requirements of flanges in some special occasions are relatively high. For example, the surface finish of sanitary flanges in the food industry needs to be around Ra1.6 or higher. A friendly reminder from Ningbo Ningang Steel Pipe Fittings, such as the surface roughness of industrial pipe flanges, is not so If it is high, it is usually within
|
Flange sealing surface roughness (smoothness) Ra (μm) regulations:
|
|
Sealing surface form
|
Flange surface roughness Ra/μm (minimum)
|
Flange surface roughness Ra/μm (maximum)
|
|
Raised surface RF
|
≤3.2
|
≤6.3
|
|
Concave and convex surface FM/M
|
≤3.2
|
≤6.3
|
|
Full plane FF
|
≤3.2
|
≤6.3
|
|
Tongue and groove surface T/G
|
≤0.8
|
≤3.2
|
|
Ring junction surface RJ
|
≤0.4
|
≤1.6
|
ASME B16.5 relevant regulations on flange sealing surface roughness (smoothness):
6.4.5 The smoothness of the flange sealing surface The smoothness of the flange sealing surface shall be processed in accordance with 6.4.5.1 to 6.4.5.3. Other finishes can also be provided when the user has an agreement with the manufacturer. The finish of the surface in contact with the gasket should adopt the Ra standard (see ASME B46.1), and the finish should be judged visually without using an instrument with probe tracking and electronic amplification.
6.4.5.1 The roughness of the tongue, groove and small convex and concave surfaces in contact with the gasket shall not exceed 3.2 μm (125 μin).
6.4.5.2 Ring connecting surface The roughness of the side surfaces of the ring connecting surface shall not exceed 1.6 μm (63 μin).
6.4.5.3 Other flange sealing surfaces should provide concentric circular or spiral serrated surfaces with an average comprehensive surface roughness of 3.2μm~6.3μm (125μin~250μin). The cutting tool used should have a radius of about 1.5mm (0.06in) or slightly larger, and the number of fine teeth per mm is 1.8~2.2, (the number of fine teeth per inch is 45~55).
The surface roughness grade of flange processing is as follows:
1. Roughness below 0.8: polishing;
2. Roughness 0.8: surface processed by grinder;
3. Roughness 1.6-3.2: surface processed by lathes and milling machines;
4. Roughness 3.2-12.5: general conventional processing.
①Economic precision of turning parts: Based on the tempered material of ferrous metal, the dimensional accuracy of rough turning is IT8~IT10, and the dimensional accuracy of fine turning is IT7~IT8. The surface roughness of turning processing is Ra1.6. The surface roughness of non-ferrous metal turning is increased by 0.5 to 1 level.
②. Economic accuracy of milled parts: rough milling dimensional accuracy is IT11~IT13, and fine milling dimensional accuracy is IT8~IT11. The surface roughness of milling is Ra3.2. The surface roughness of non-ferrous metal milling is increased by 0.5 to 1 level.
③. Economic accuracy of clamped parts: hole distance error is 0.2mm~0.3mm, surface roughness is Ra3.2. The surface roughness of the reamed hole is Ra1.6.
④. Economic accuracy of grinding parts: precision grinding dimensional accuracy is IT6~IT7. The grinding surface roughness is Ra0.4~0.8. The surface roughness of surface grinding and inner hole grinding is 0.5 levels lower than that of cylindrical grinding.
The surface roughness of the flange sealing surface required by various gaskets:
|
Gasket
|
Flange surface roughness Ra/μm
|
Remarks
|
|
paper gasket
|
<25
|
|
|
Leather gasket
|
<25
|
|
|
Rubber gasket
|
<25
|
|
|
Asbestos rubber gasket
|
<12.5
|
|
|
PTFE gasket
|
<12.5
|
|
|
PTFE coated gasket
|
<12.5
|
|
|
Wound gasket
|
<12.5
|
|
|
<3.2
|
When sealing gas
|
|
Metal clad gasket
|
<1.6
|
|
|
Metal toothed gasket
|
<1.6
|
|
|
Metal ring pad
|
<0.8
|
|
|
Metal hollow O-ring
|
<1.6
|
When sealing liquids
|
|
<0.4
|
When sealing gases or volatile liquids
|
|
lower
|
Seals valuable, rare, and highly toxic (for body and light liquids)
|
Read more: When Does The Pipe Flange Need Static Jumper? or Material And Features of Loose Flange


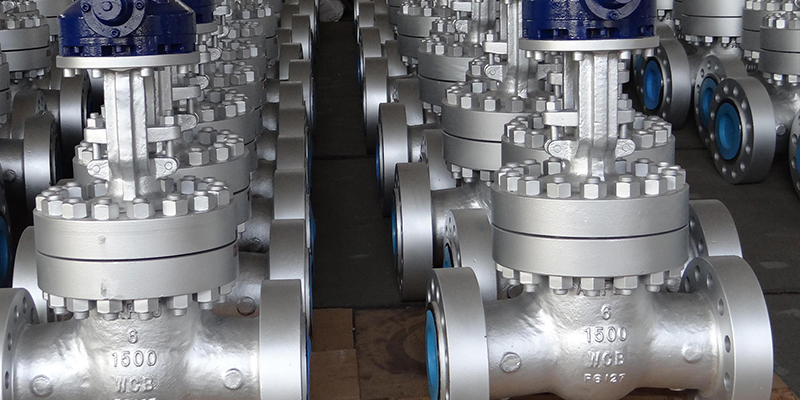


 Eastern Steel Manufacturing Co.,Ltd not only improve product production and sales services, but also provide additional value-added services. As long as you need, we can complete your specific needs together.
