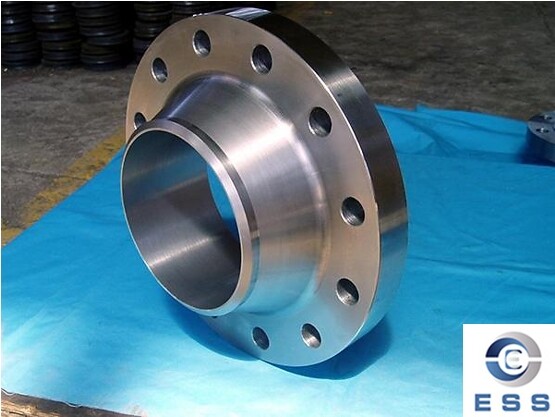
In piping systems, accurate measurement of pipe flange is
essential to ensure compatibility and proper installation. Pipe flange size
measurement includes measurements of outer diameter, gap, depth, and
non-concentricity, which are important bases for pipe flange installation and
maintenance. So how to measure? The following is a comprehensive guide to pipe
flange measurement.
Preparation before measurement
Before measuring the pipe flange size, you
must first make adequate preparations. According to the position of the pipe
flange, draw a sketch of each connecting pipe flange of the equipment and
number them consecutively so that the fixture can be installed accordingly.
At the same time, since the pipe flange may
have different outer diameters, misaligned (non-concentric), and unequal gasket
thickness, the processed fixture should correspond to the side pipe flange and
cannot be interchangeable. Therefore, measuring the size and number of each
part is the key to fixture processing and installation.
During the measurement process, it is best
to arrange three people, two of whom measure and one proofread and fill in the
form to ensure the accuracy of the measurement data.
Pipe flange size measurement steps
1. Outer diameter measurement
Use a vernier caliper or external caliper
and a steel ruler to accurately measure the outer diameters D1 and D2 of the pipe
flange. When measuring, ensure that the size is accurate to millimeters. If the
measured data is 157.5mm, then this size is 157.5mm.
2. Inner diameter measurement
If possible, use a vernier caliper to
measure the diameter of the inner hole of the pipe flange. This size needs to
match the inner diameter of the connected pipe.
3. Gap measurement
Measure four points evenly distributed on
the circumference of the pipe flange to obtain the accurate size of the pipe
flange gap b. This step is crucial for evaluating the sealing performance of
the pipe flange.
4. Depth measurement
Measure the depth C (the size between the
outer edge of the pipe flange and the bolt) at the 1234 positions of the pipe
flange, and select the smallest size as a record. This data helps determine the
tightening force when installing the pipe flange.
5. Misalignment measurement
Select the size at the largest misalignment
of the two pipe flanges as the measurement result of misalignment d. This data
is of great significance for adjusting the installation position of the pipe
flange and ensuring the sealing effect.
Precautions for measuring the installed
pipe flange
1. Use flexible tools
For the installed pipe flange, use a tape
measure to measure the circumference of the pipe flange, and then calculate the
diameter through the formula.
2. Consider space limitations
When space is limited, use small tools
(such as small vernier calipers) for measurement.
3. Handle insulated pipes
If the pipe has an insulation layer, it
needs to be removed or the thickness of the insulation layer needs to be
considered.
Summary
Through the above steps, we can fully and
accurately grasp the various dimensional data of the pipe flange. These data
not only provide strong support for the installation and maintenance of the
pipe flange, but also help to ensure the safe and stable operation of
industrial equipment. Therefore, it is necessary to deeply understand and
master the pipe flange size measurement method. If you have any questions, you
can always consult the flange supplier.




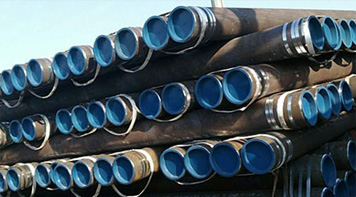 Eastern Steel Manufacturing Co.,Ltd not only improve product production and sales services, but also provide additional value-added services. As long as you need, we can complete your specific needs together.
